🎁 Exclusive Discount Just for You!
Today only: Get 30% OFF this course. Use code MYDEAL30 at checkout. Don’t miss out!
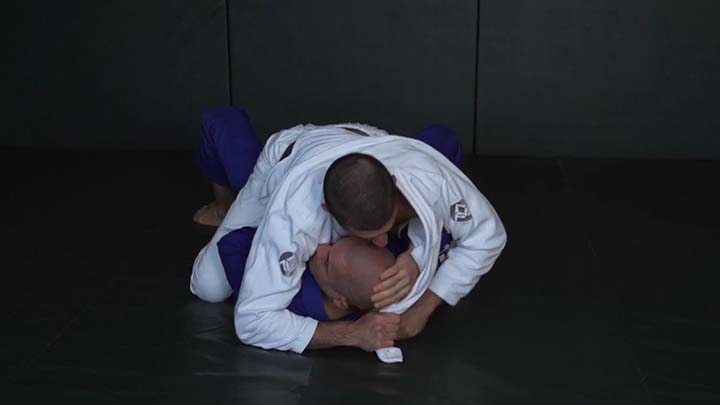
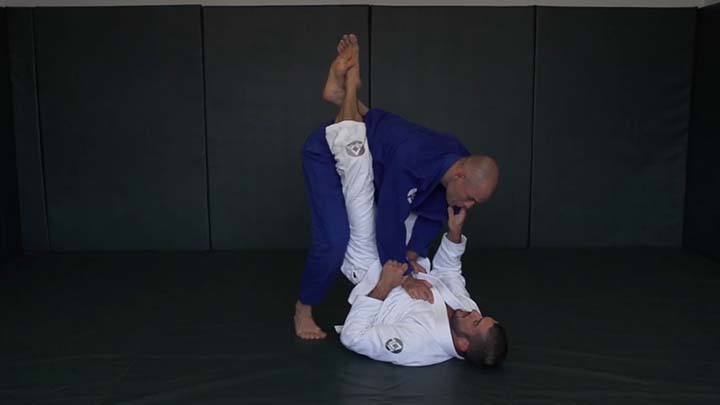
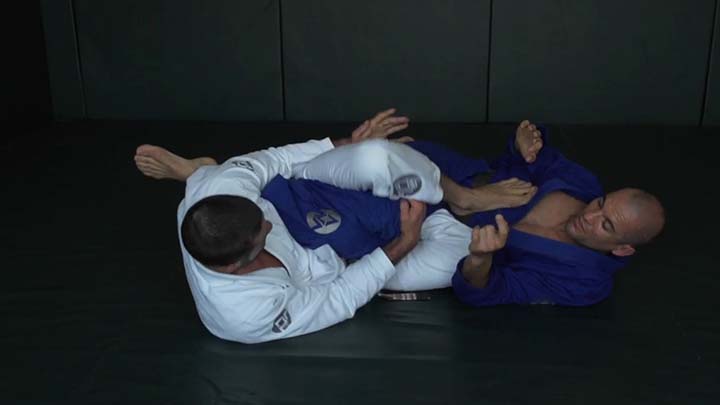
This course will teach you the next layer of highly-effective street applicable strategies as well as the essential counters…
File Size: 329.6 MB.
Gracie Jiu-Jitsu Master Cycle – Blue Belt Stripe 4

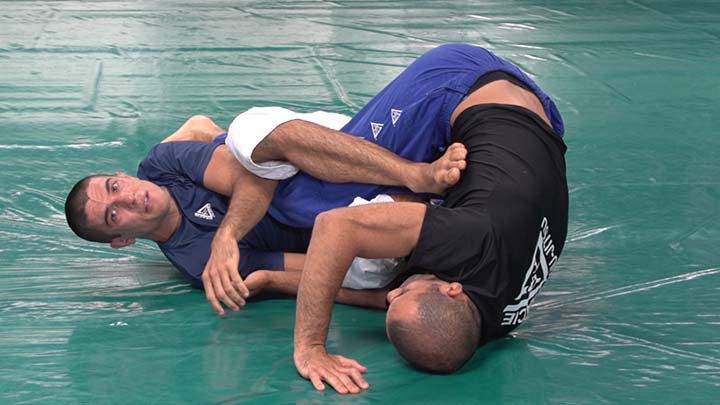
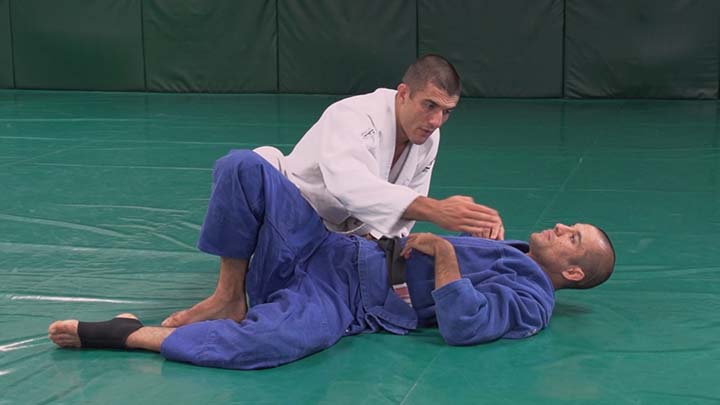
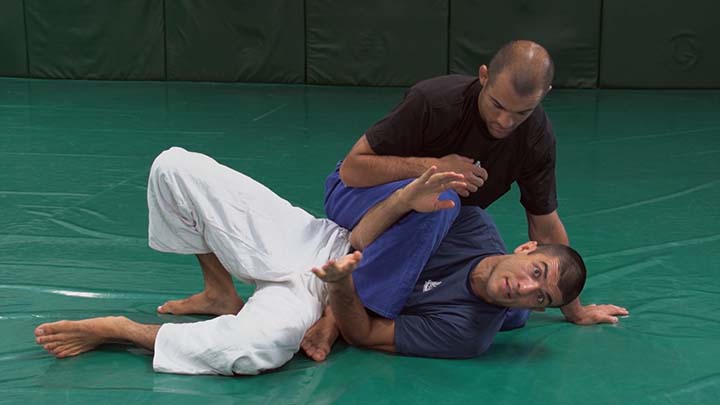
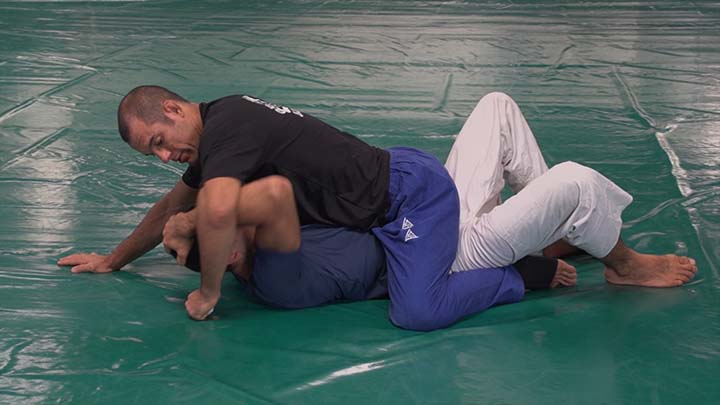
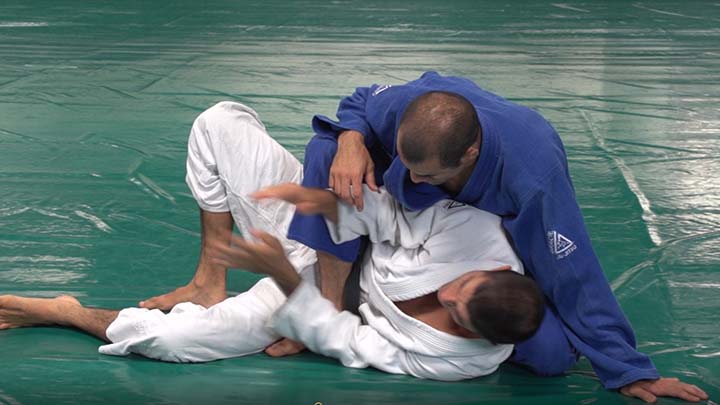
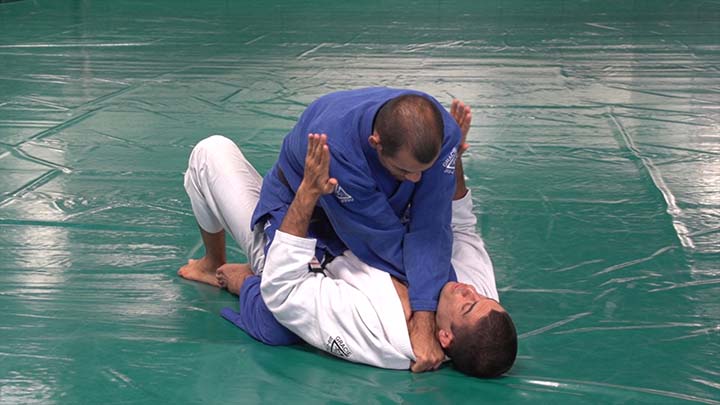
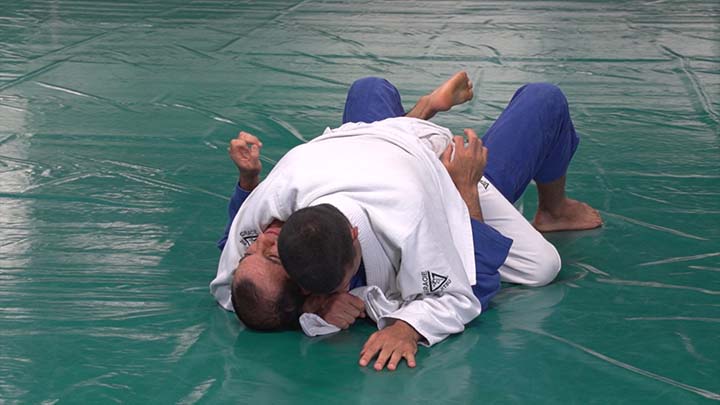
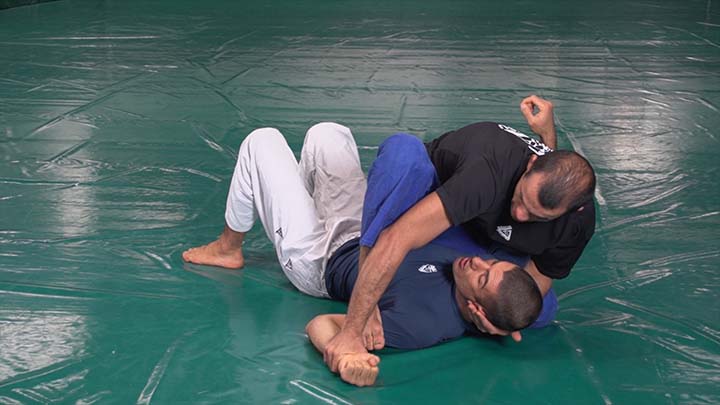
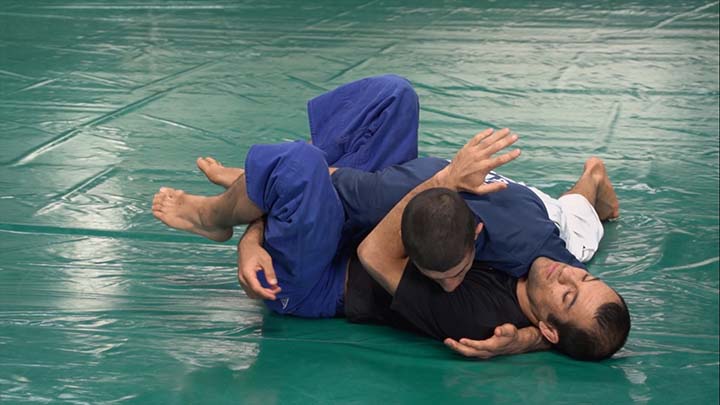
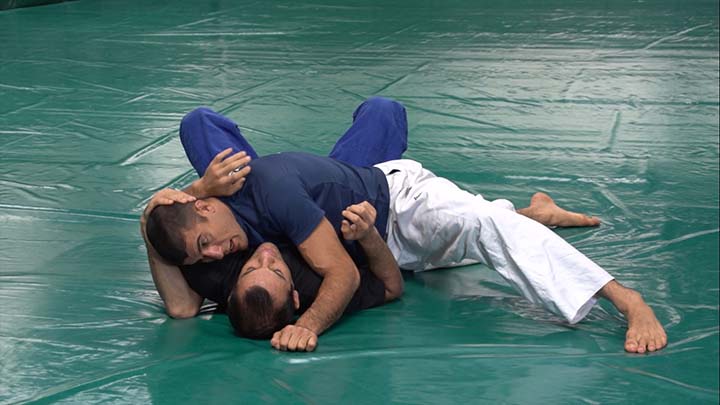
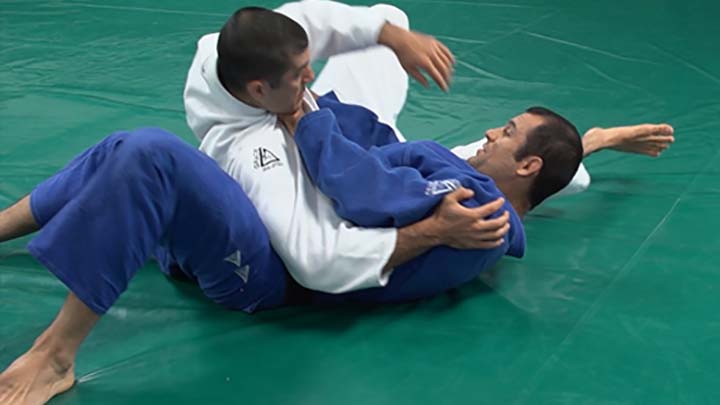
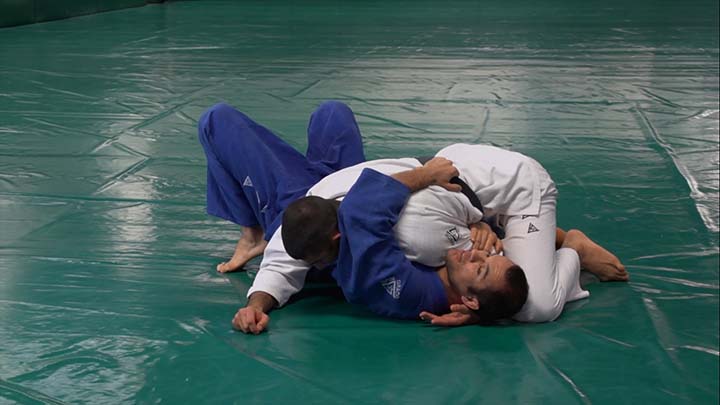
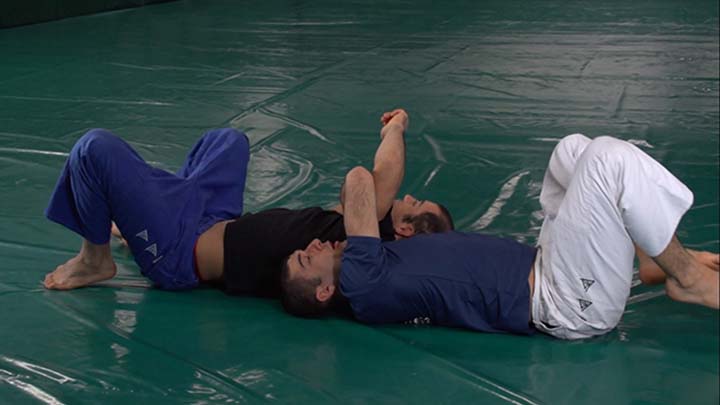
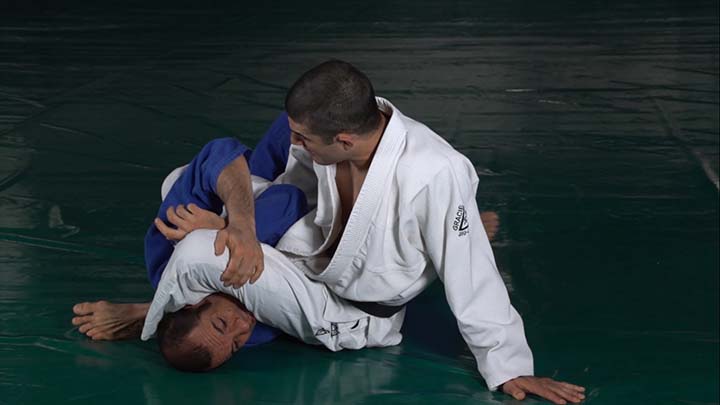
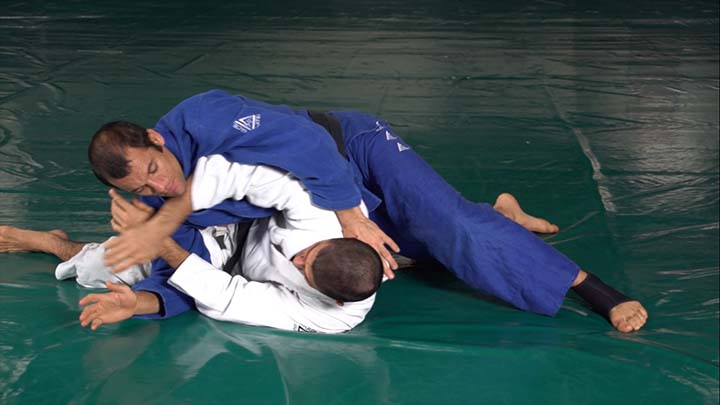
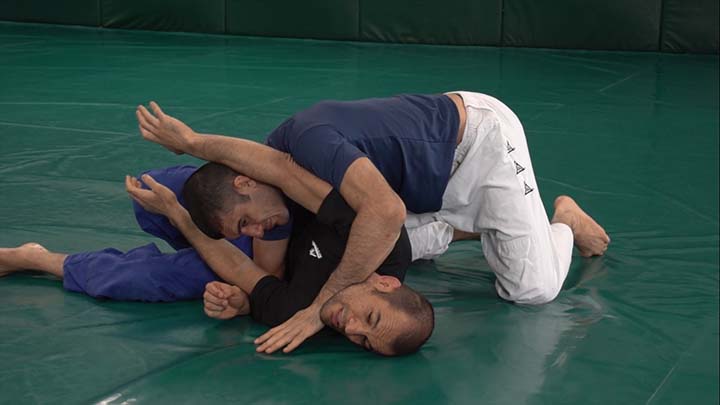
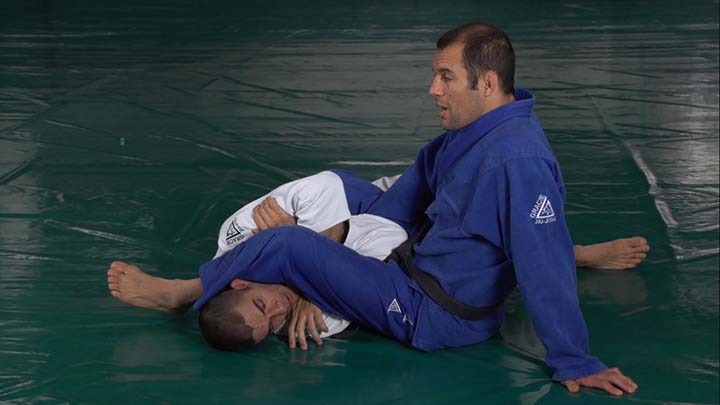
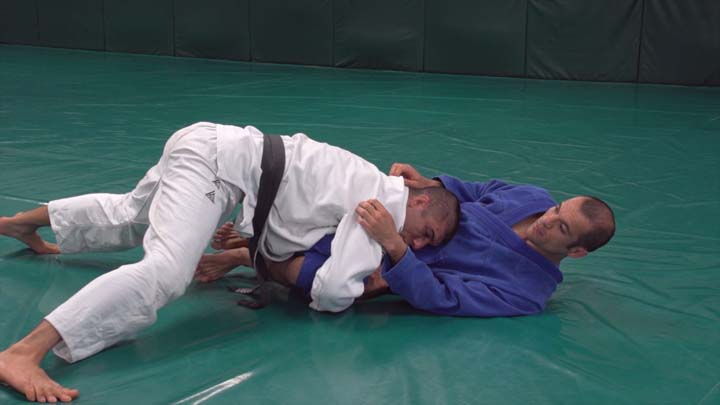
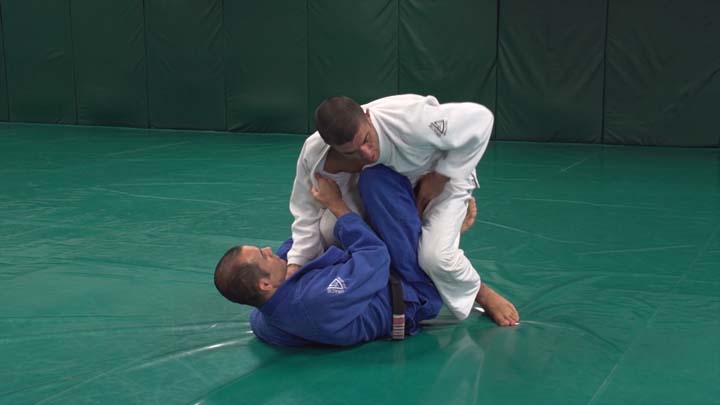
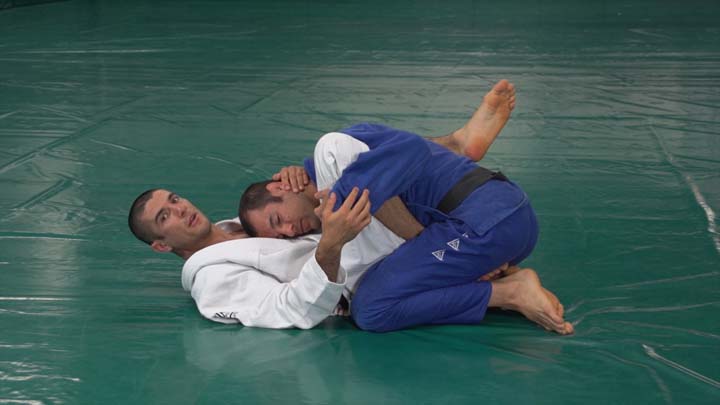
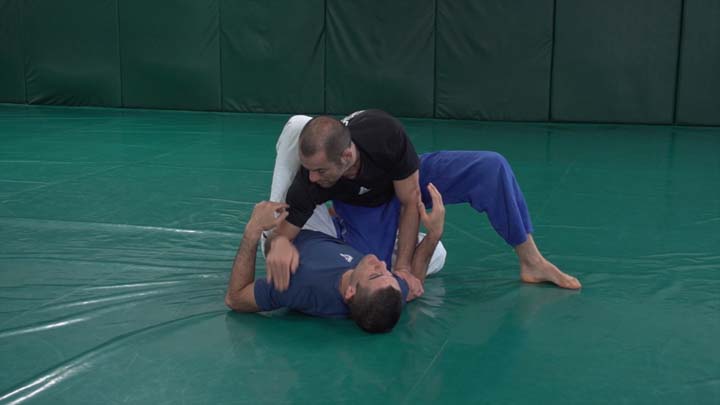
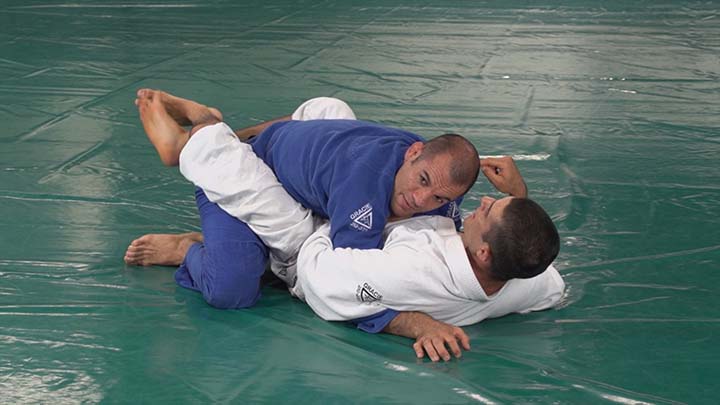
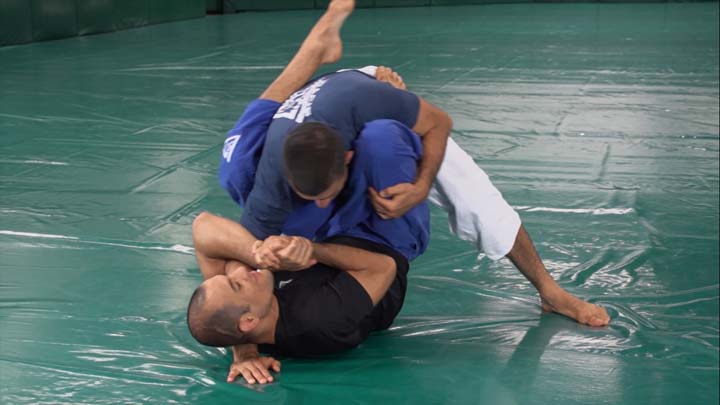
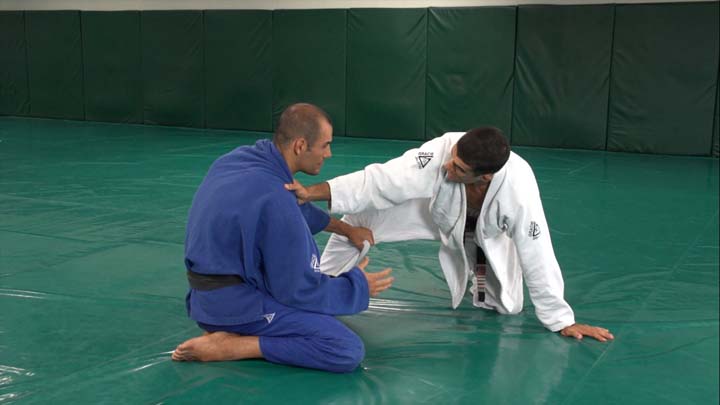
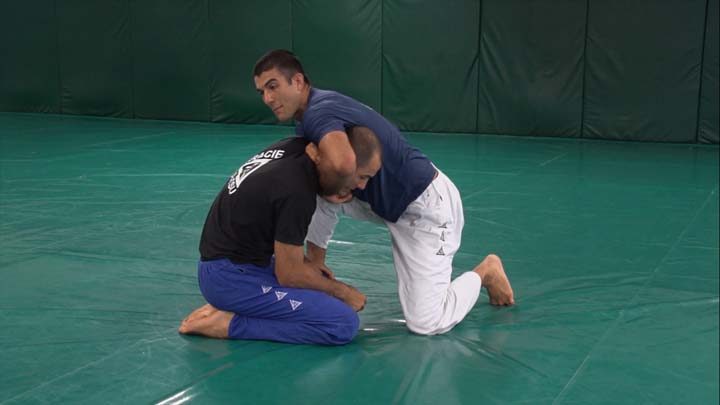
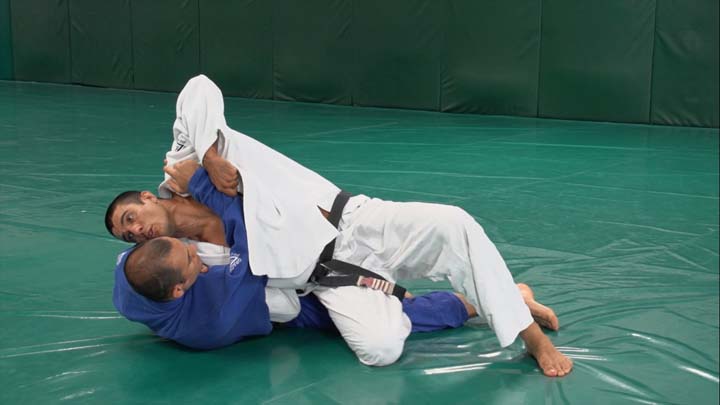
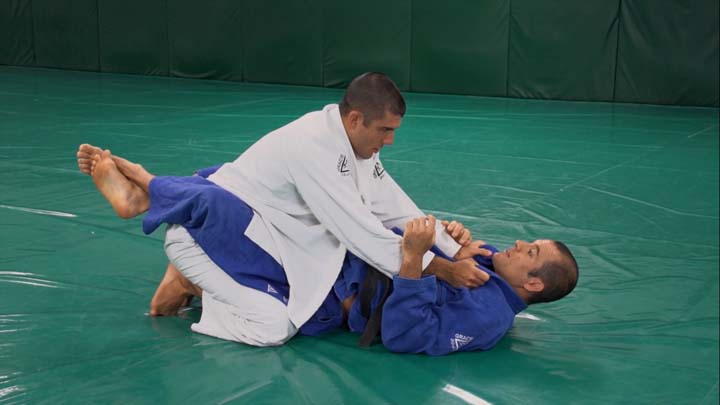
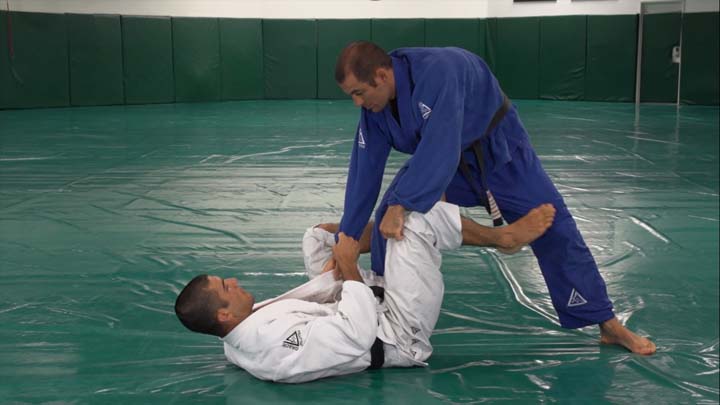
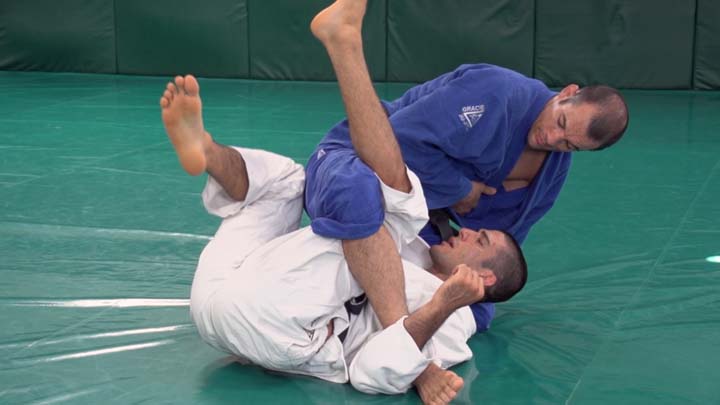
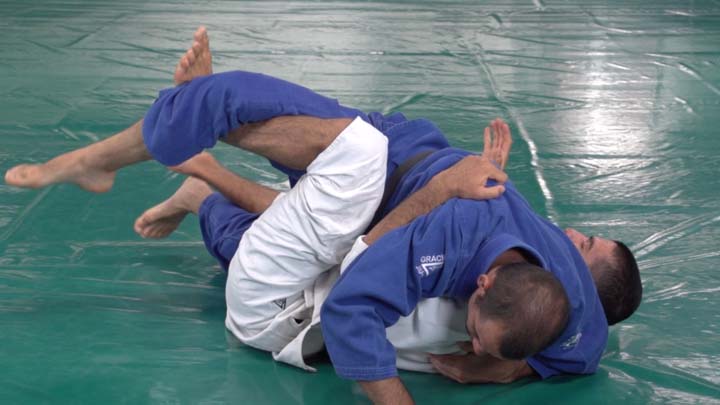
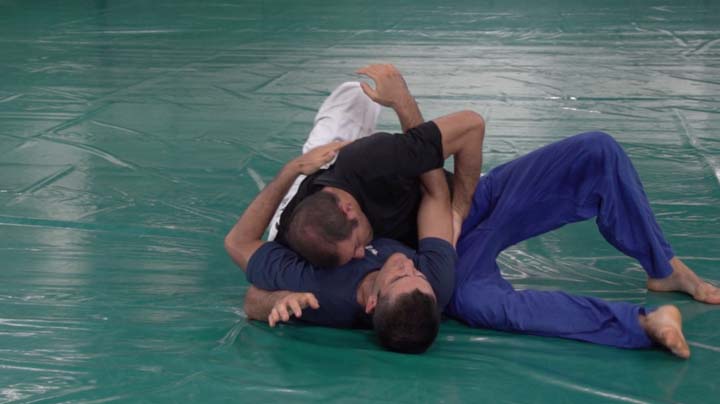
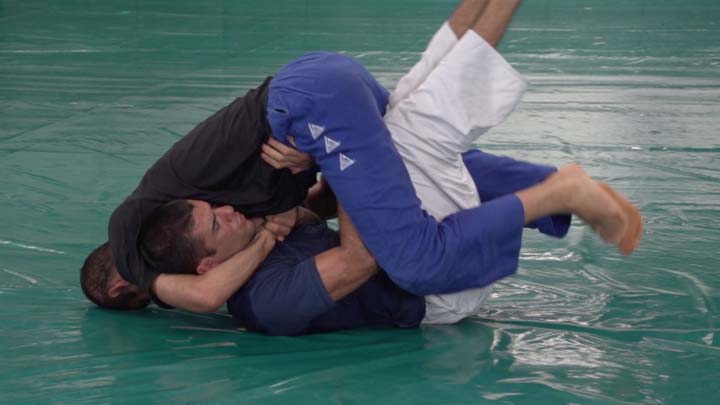
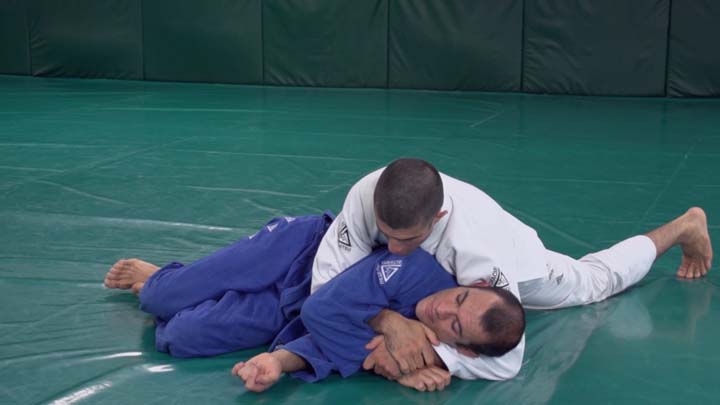
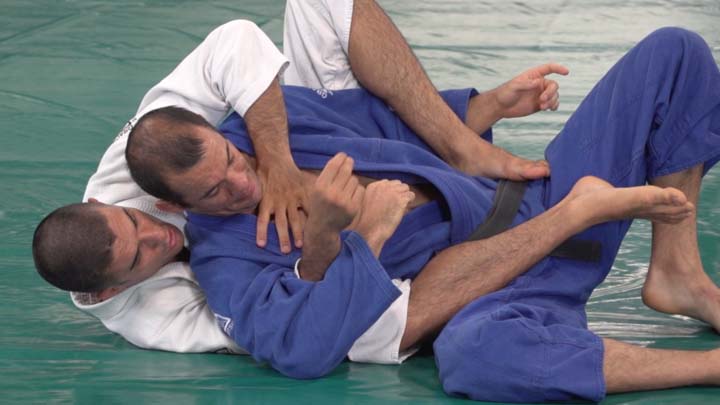
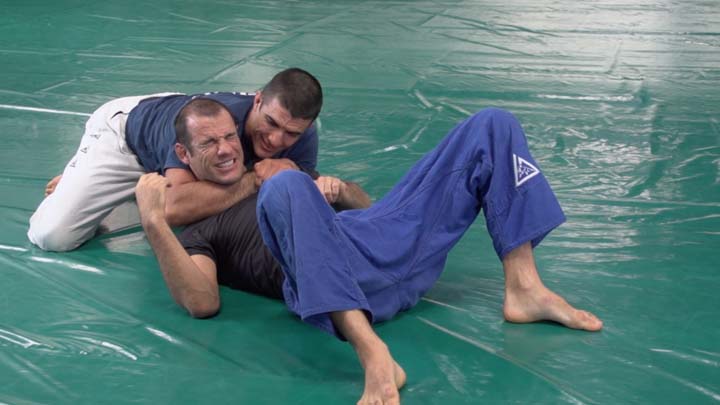
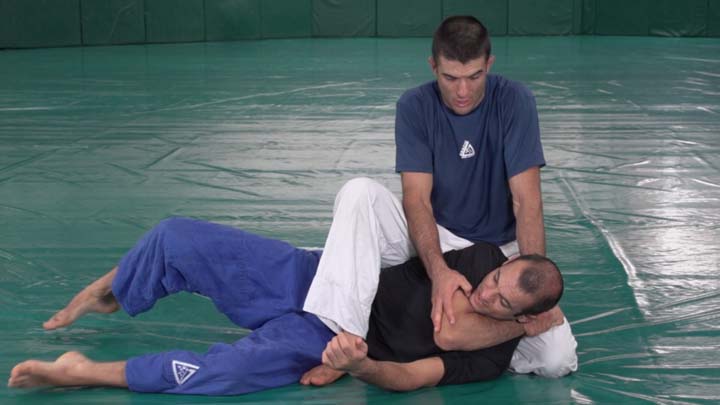
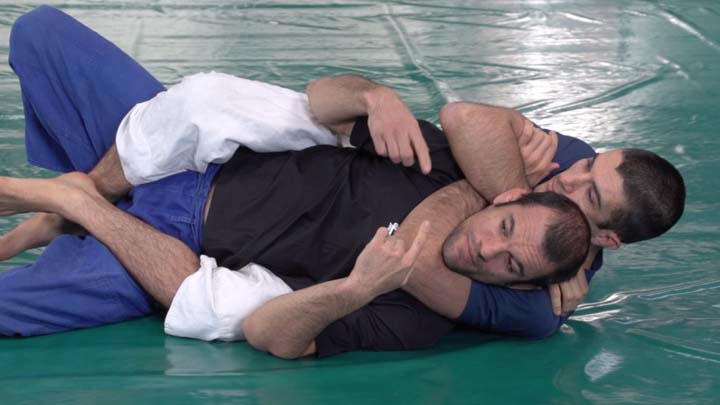
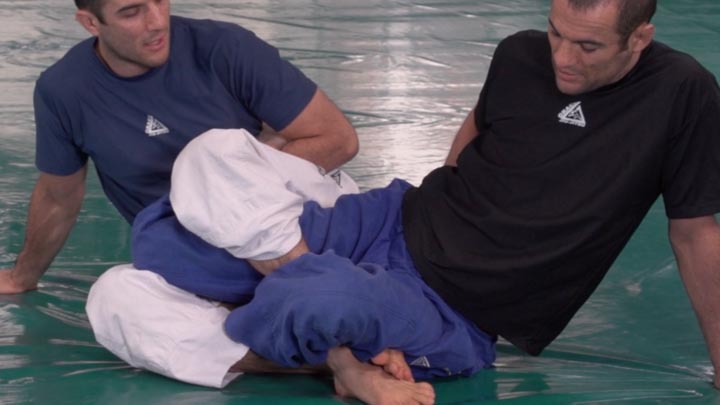
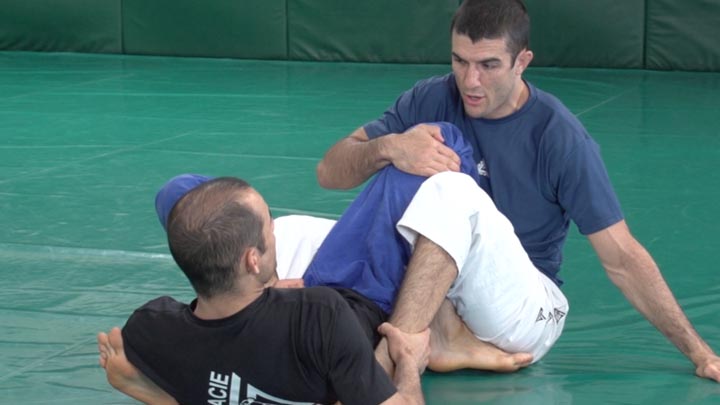
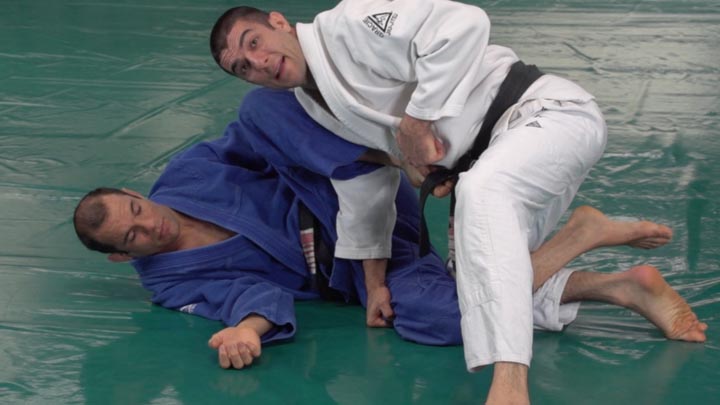
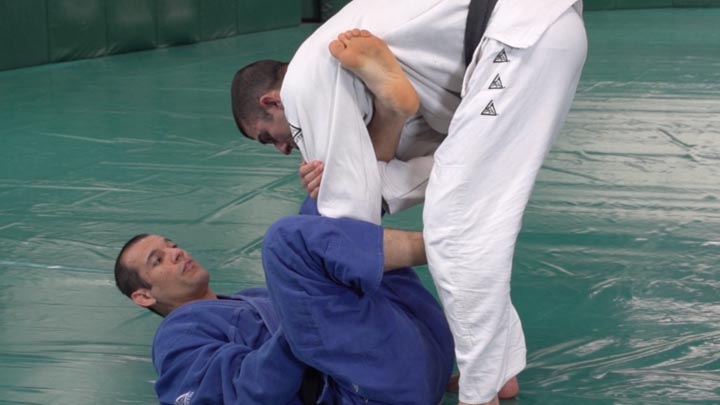
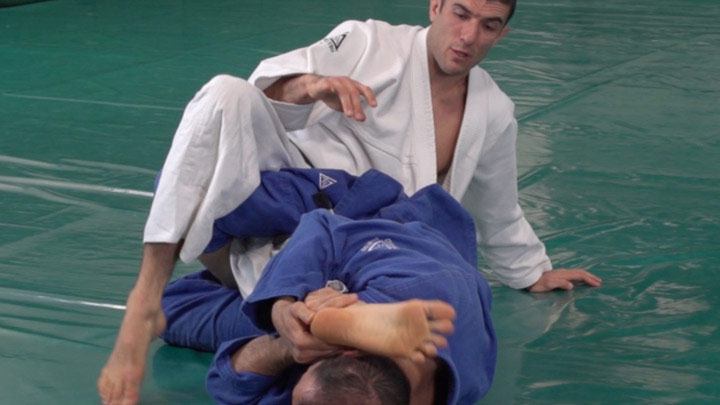
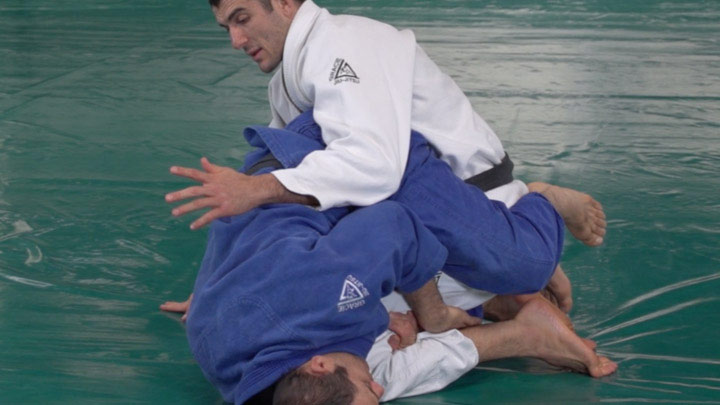
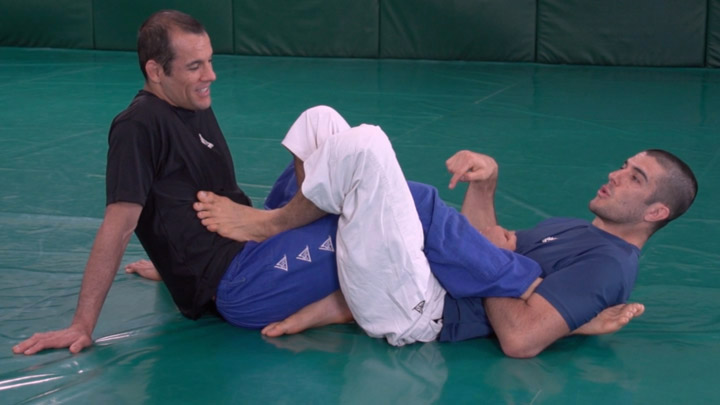
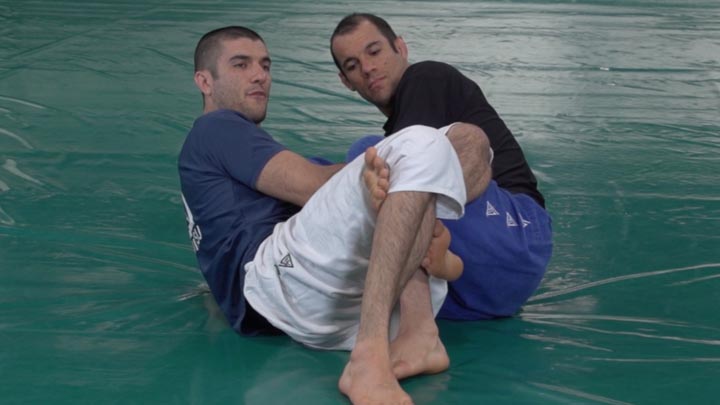
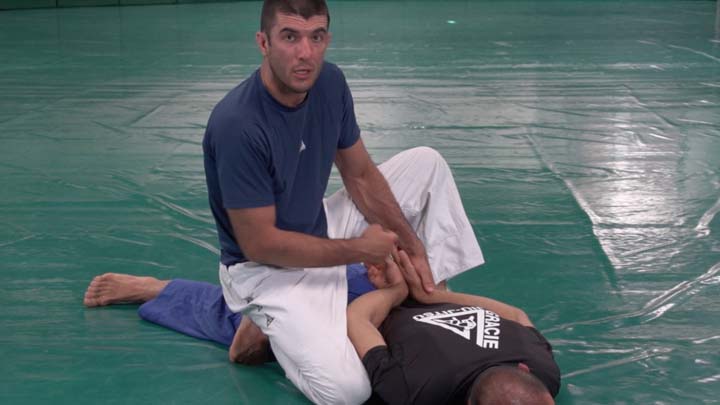
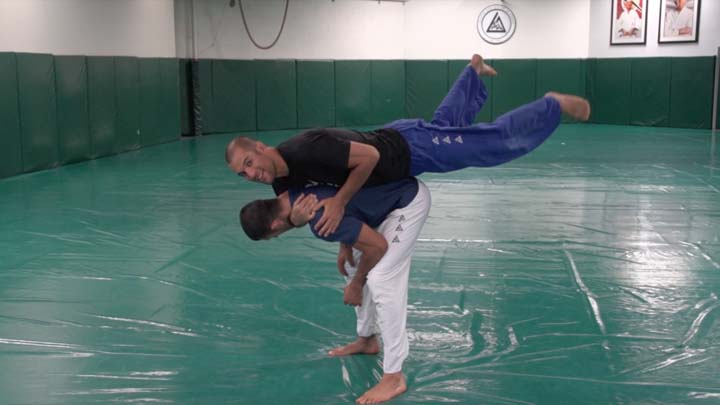
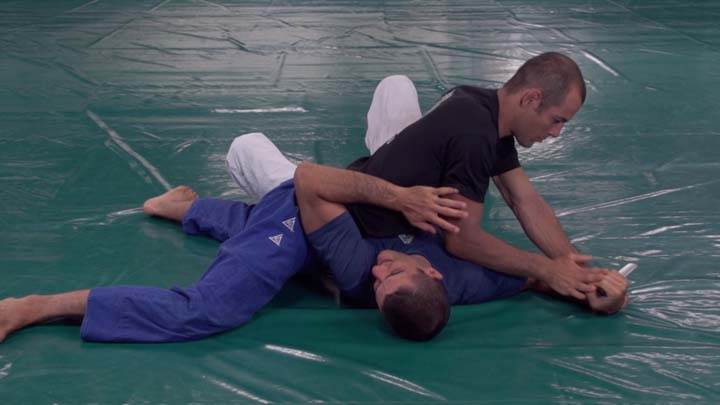
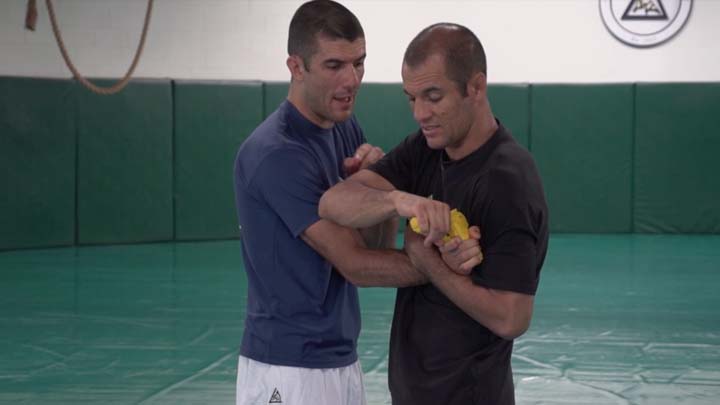
In the Blue Belt Stripe 4 course, we will continue to build on what you learned in the Blue Belt Stripe 1, Blue Belt Stripe 2 and Blue Belt Stripe 3 courses. Broken down into seven positional chapters, this course will teach you the next layer of highly-effective street applicable strategies as well as the essential counters to previously learned techniques. To explore the lessons of the Blue Belt Stripe 4 course, simply scroll down on this page. All the published Master Cycle lessons can be accessed instantly for as low as $35/month with one of our convenient subscription plans, or you can purchase any individual lessons for a one-time premium fee of $18 or as a full chapter (price varies depending on the number of lessons). To explore the content of each lesson, scroll down on this page, and to learn more about our most popular subscription programs, as well as watch sample videos from each.
Course Lessons (68)
BBS4 Intro Class
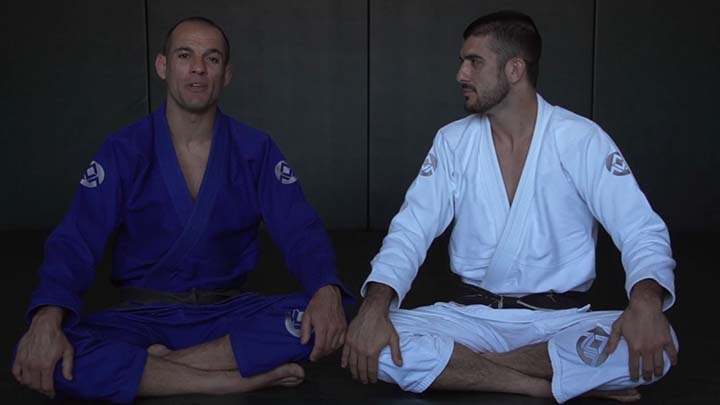
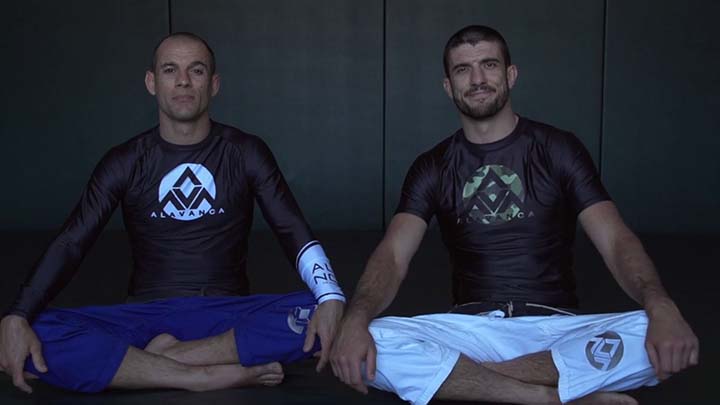
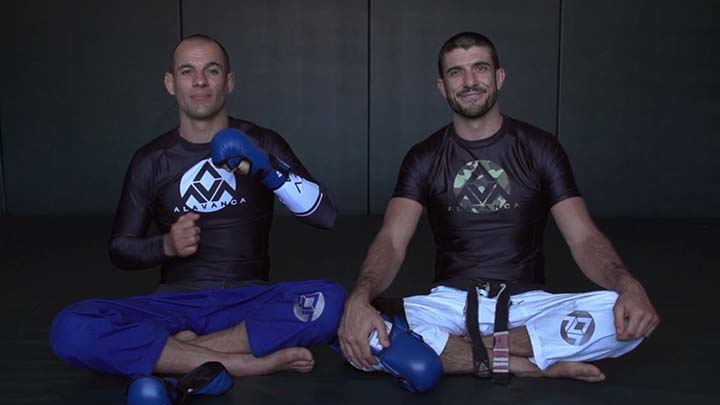
In this intro class to Blue Belt Stripe 4, Ryron and Rener discuss Recycling. Everything you need to know to start into BBS4. Once you watch the intro, it’s time to get ready for Lesson 1 – Back Door Control!
Lesson 1: Back Door Control (1.1: Mount Controls)
Against an unsuspecting opponent, the Back Door Escape is almost 100% effective. In this lesson, we will teach you how to position your hands and body to counter the escape. Then, we will teach you what to do if your opponent thrusts your body north and wedges both hands in your armpits.
Lesson 2: Heel Drag Counters (1.1 Mount Controls)
The Heel Drag is one of the sneakiest and difficult mount escapes to prevent. Once used to establish the quarter guard, it is extremely difficult to free your foot and regain the mount. In this lesson, we will teach ways to delay the escape and create attack opportunities. First, we’ll discuss how to free your fo…
Lesson 3: Forced Heel Drag (1.2 Mount Escapes)
Against a seasoned grappler, the elbow escape and trap and roll can be extremely difficult. Now that you’ve learned how to counter the basic heel drag, we will teach you how to use advanced versions to slip out from beneath high level attackers. First, we’ll discuss how to use a “forced heel drag&rdqu…
Lesson 4: Pressure Prevention (1.2 Mount Escapes)
Half of escaping the mount is selecting the right technique; the other half is creating escape opportunities by forcing the top person to adjust their position. In this lesson, we will teach you how to neutralize your opponent’s body pressure. We will analyze upper and lower body pressure prevention, and then we …
Lesson 5: Gi Choke Counters (1.3 Mount Submission Counters)
You’ve already learned how to defend the basic cross chokes from the mount, and now it’s time to counter the gi choke extras. Unlike the cross chokes in which one system of defense neutralizes almost all of the variations, each of these extra chokes requires a unique defensive strategy based on the mechanic…
Lesson 6: Emergency Escapes (1.3 Mount Submission Counters)
Grandmaster Helio always said, “Don’t defend against the submission, defend against the preparation for the submission.” Regardless of your position, the deeper the submission, the harder it is to escape. Inevitably, we land in dire situations requiring an emergency escape. In this lesson, we will dis…
Lesson 7: Lapel Choke Series (1.4 Mount Submissions)
The gi is a weapon that can be used for or against you. In this lesson, we’ll teach you even more uses for the gi you’ve been wearing for years. The lapel choke series adds yet another attack system to your growing arsenal and substantially increases the likelihood of submitting your opponent.
Lesson 8: Triangle Choke (1.4 Mount Submissions)
You can apply the triangle choke from virtually every position in the fight. In this lesson, we discuss the triangle from the mount position. Although flashy, it’s one of the most effective submissions from the mount because it unexpectedly brings your legs into the attack. Ryron and Rener will share the de…
Lesson 9: Back Door Control (2.1 Side Mount Controls)
The Back Door Escape is one of the most effective side mount escapes, especially without the gi. In this lesson, we will discuss the most important details to counter this powerful escape. We begin with essential shoulder control details, and then show how to use “split control” of the opponent’s legs…
Lesson 10: Ultimate Underhooks (2.1 Side Mount Controls)
Many of our side mount attack systems, rely on the isolation of arms and the acquisition of underhooks. In this lesson, we will delve into the science of isolating your opponent’s arms using maximum leverage from any side mount position. We will begin with the powerful concept of the Forearm Pry, and then we will…
Lesson 11: Cross Chest Counters (2.2 Side Mount Escapes)
Side mount is one of the most difficult positions from which to escape, especially against a larger opponent. Exploiting windows of opportunity often requires a quick, specific responses. The cross chest position is uniquely challenging because your opponent’s low hip positioning hinders shrimp escapes. In this l…
Lesson 12: Top Shoulder Roll (2.2 Side Mount Escapes)
The neck hug, or cross-face, is one of the most difficult side mount grips from which to escape. In this lesson, we will teach you the Top Shoulder Roll, an incredibly effective escape you can apply when the opponent has control of your head. We will teach you a gi and a no-gi variation as well as what to do when both …
Lesson 13: Guillotine Mastery (2.3 Side Mount Submissions)
When you first learn the Guillotine, you force your opponent to protect their neck. When you master the Guillotine, you force your opponent to change how they grapple against you. In this lesson, we will go deep down the Arm-in Guillotine tunnel, exploring the most effective setups and transitions, so you will be able …
Lesson 14: Quick Step Armlocks (2.3 Side Mount Submissions)
Until now, most of our side mount submission systems were based on control. The Quick Step Armlocks introduce the element of speed to your arsenal vastly expanding the range of your attacks and your ability to confuse your opponents. We will begin with the North Step that Ryron catches on virtually every training partn…
Lesson 15: Crucifix Counters (2.4 Side Mount Submission Counters)
The Crucifix position, or Split Control, is one of the most dangerous and demoralizing positions one can get trapped in. In the street, the implications are life threatening. In a grappling match, you’re just a few steps from being submitted. In this lesson, we begin with the preemptive defenses involving underho…
Lesson 16: Safe Hug (2.4 Side Mount Submission Counters)
When it comes to submission counters, preemptive defenses are always better than emergency escapes. One defensive system that Ryron uses with incredible success is called the Safe Hug. Unlike the Safe Hands, which require you to quickly adapt based on your partner’s arm movement, the Safe Hug allows you to neutra…
Lesson 17: Quick Step Counters (2.4 Side Mount Submission Counters)
The best way to counter a submission is to prevent the set up. In this lesson, we will discuss the critical positioning concepts for neutralizing the Quick Step Armlock setups, and then we’ll discuss what to do if your defense is too late and you’re caught in the submission. We’ll start with the North…
Lesson 18: Guard Get-up (3.1 Guard Controls)
Against multiple attackers, quickly getting to your feet is of the utmost importance. Our solution is the Guard Get-up, an amazing technique that originated in the Gracie Survival Tactics (GST) course and Women Empowered program. We’ll show you the standard technique and some advanced variations for use fro…
Lesson 19: Smash Pass (3.2 Guard Passes)
Your opponent’s guard is only as good as their ability to use their legs. If you neutralize their legs, you will drastically reduce their sweep and submission options. The Smash Pass enables you to bind your opponent’s legs. Patience is the key to success since your opponent will do everything to free their…
Lesson 20: De La Riva Passes (3.2 Guard Passes)
The De La Riva (DLR) guard is an effective sport guard for all shapes and sizes. It’s time to learn how to shut it down. Using concepts from previous guard passing lessons, we will teach you how to pass by killing the connections and immobilizing your opponent’s legs. The key to success is to perfect the in…
Lesson 21: Three-Quarter Drop (3.2 Guard Passes)
We generally divide guard passes into two groups – speed passes and control passes. If you can’t quickly pass, then you must slow down and focus on neutralizing one defensive layer at a time. In this lesson, we teach you how to trap your opponent’s foot in the three-quarter guard, and then how to &ldq…
Lesson 22: Pressure Pass (3.2 Guard Passes)
When a determined opponent shuts down your pass, use pressure to force a response and create opportunities. In this lesson, we will teach you how to use gravity to stimulate a response, then show you a pass customized for each of the most likely situations. This passing system works equally well with or without the gi,…
Lesson 23: Overhook Counters (3.3 Submission Counters)
Familiarity with the Overhook Series from the guard is your most important line of defense. There are several counters once your opponent lassos your arm and starts to attack. We begin with a very reliable way to free your arm from their overhook, and show a wrist lock you can use to turn the tables when the arm …
Lesson 24: Arm Crush Counters (3.3 Submission Counters)
Whether defending against strikes or submissions, whoever manages the distance manages the damage. The Arm Crush armlock is a quick, sneaky, submission that relies on the legs to keep perfect distance while the arms attack the opponent’s elbow. Therefore, your top priority when countering this submission, is to p…
Lesson 25: Loop Choke (3.4 Guard Submissions)
Ryron catches EVERYONE with the Loop Choke. This sneaky open guard choke lands when you least expect it, and once it’s locked in there is no escape. First, we will drill some control concepts from the sitting guard position, and then we’ll dig deeply into the choke details for both kneeling and standing opp…
Lesson 26: Guillotine Mastery (3.4 Guard Submissions)
The Guillotine is one of the most dynamic submissions in jiu-jitsu, since you can apply it from virtually every position. In this lesson, we take your Guillotine Mastery skills to the next level with four new methods of wrapping the neck, or “tying the rope,” from the bottom of the guard and half guard. We …
Lesson 27: Ankle Pick Sweep (3.5 Guard Sweeps)
A sweep can dramatically shift the momentum of a match. While most sweeps require elaborate grips and momentum, the Ankle Pick Sweeps rely entirely on simple balance manipulation and the element of surprise. We will begin with the most popular variation from the kneeling open guard, in which you only control one of you…
Lesson 28: Shin Sweep (3.5 Guard Sweeps)
The Shin Sweep is one of the all-time classic closed guard sweeps. When used in combination with the Double Ankle Sweep, it creates a powerful combination that can off balance almost anyone. First, we will introduce you to the standard variation, and then we’ll teach you how to combine it with a failed Double Ank…
Lesson 29: Sit-up Guard (3.6 Sport Guards)
The Sit-up Guard is the sportiest of the sport guards. When you sit up in the open guard, you can’t control your opponent’s hips with your feet and are vulnerable to punches in the face. Even so, this open guard system enables extremely effective sweeps because it positions you directly beneath your opponen…
Lesson 30: Waiter Sweep (4.1 Half Guard Bottom)
To add to our balance manipulation mastery skills from the bottom of the half guard, we introduce the Waiter Sweep. This sweep works in perfect combination with the deep half guard sweeps you already know and will surprise even the most advanced training partners. First we will teach you how to get into the standard va…
Lesson 31: Sitting Pass Counters (4.1 Half Guard Bottom)
There is nothing more demoralizing than being trapped beneath a training partner with solid head control. This is what makes the sitting pass from the half guard so difficult to counter. In this lesson we will teach you three super effective counters that will prevent the pass and, in many cases, turn the tables and gi…
Lesson 32: Sneaky Passes (4.2 Half Guard Top)
Passing the half guard can be a nightmare against a savvy training partner. In this lesson we will teach you two Sneaky Passes that violate the traditional “rules” of half guard passing, and as such can be used to confuse even the most experienced training partners. We will begin with the Low Hip Hug that c…
Lesson 33: Guillotine Mastery (4.2 Half Guard Top)
The Guillotine can be applied from virtually anywhere, and the half guard is no exception. When you are on top half and your opponent establishes a deep underhook, they are giving you the perfect opportunity for an “invitation Guillotine,” as well as several critical connections from there. We’ll begi…
Lesson 34: Sneaky Back Takes (5.1 Back Mount Controls)
Back attack mastery begins with the process of getting to your opponent’s back. The challenge is that your training partners become familiar with your basic back mount acquisition methods, they will do everything in their power to avoid them. In this lesson we will add several sneaky back takes to your arsenal so…
Lesson 35: The Crucifix (5.1 Back Mount Controls)
The most powerful systems of attack involve some degree of limb isolation with the goal of reducing your opponent’s defensive options. The Crucifix is a very powerful control position that can be utilized from the back mount in order to strip your opponent’s limbs away from their body while creating a multi…
Lesson 36: Exit Chokes (5.2 Back Mount Submissions)
Transitions from one position to another provide excellent opportunities to surprise your opponent. When you find yourself having difficulty controlling or submitting your opponent from the back mount, one viable option is to loosen up the control to give your opponent the illusion that they can escape unharmed, but th…
Lesson 37: Turtle Choke Counters (5.3 Back Mount Submission Counters)
The turtle position is one of the most dangerous positions from a self-defense perspective due to the fact you’re your head and neck are fully exposed to strikes. In a grappling encounter, however, we sometimes find ourselves stuck in the bottom of the turtle position for a short period of time while attempting t…
Lesson 38: Emergency Escapes (5.3 Back Mount Submission Counters)
As with any submission, the goal is to defend against the setup rather than waiting until the hold is fully locked in. Sometimes, however, we make a wrong turn and we find ourselves trapped in a fully-locked submission and that is where the Emergency Escapes will serve you. In this lesson we’ll discuss last lines…
Lesson 39: Leg Knot (6.1 Straight Foot Locks)
Novice leg lockers focus on controlling the leg that they want to submit. Expert leg lockers focus on controlling the “freedom leg.” In this lesson, we will teach you a very advanced, nearly inescapable, foot lock set-up. We begin with the basics of the Leg Knot, and then discuss advanced entry methods for …
Lesson 40: Leg Knot Counters (6.1 Straight Foot Locks)
Understanding the Leg Knot is the first and most important step in defending against it. Now that you know the basics, let’s dismantle this leg lock system one components at a time, starting with crossover prevention.
Lesson 41: Estima Lock (6.2 Toe Hold Foot Locks)
Named after Victor Estima, this foot lock is very hard to counter, even when you know it exists. Although the Estima Lock doesn’t look like a conventional toe hold, the break angle is the same, which is precisely why it’s so dangerous. The Estima Lock is commonly applied from within the opponent’s ope…
Lesson 42: Estima Lock Counters (6.2 Toe Hold Foot Locks)
Unless “own” the Estima Lock, you probably won’t survive when it is applied on you. In this lesson we discuss two Estima counter concepts: pre-emptive hand-fighting, and an emergency roll for when you’re too late to the hands.
Lesson 43: Inverted Knee Lock (6.3: Knee Locks)
Like foot locks, the best way to catch knee locks is from surprise set ups. In this lesson, we will flip the script and teach you three knee lock setups from the bottom of the fight to surprise even the most advanced partner. We will begin from half guard bottom, and then we’ll discuss some advanced setups from …
Lesson 44: Inverted Knee Lock Counters (6.3: Knee Locks)
When defending against inverted knee locks, it’s most important know when to resist and when to yield. Attempting to keep the position when your opponent has the advantageous angle is the most certain way to get submitted. In this lesson, we discuss the essential survival details for each variation as well as the…
Lesson 45: 411 Attacks (6.4: Heel Hooks)
The 411 position reigns supreme among advanced leg lock systems. Proven effective at the highest level of competition, this system enables the inverted heel hook without the risk associated with the 50/50 entanglement position. To ensure that you fully understand the power of the 411 system, we’ve stacked this le…
Lesson 46: 411 Counters (6.4: Heel Hooks)
If you’re trapped in the 411 position, the end is near. If tapping is not an option, there are a few things you can try. But, even when mastered, these are low percentage escapes.
Lesson 47: Striking Techniques (7.1 Front Attack Defenses)
Although typically not as reliable as chokes or joint locks, strikes can be effective when applied with power, speed, and precision. In this lesson, we will teach you four of Helio Gracie’s favorite strikes to quickly distract or neutralize an opponent. Use them when you find yourself facing multiple attackers an…
Lesson 48: Intimidation Approach (7.1 Front Attack Defenses)
The more aggressively someone attacks you, the easier it is to establish the clinch and gain control. If someone crowds but does not physically assault you, it presents a difficult situation. In this lesson, we will teach you to verbally de-escalate a hostile encounter. Then, we’ll show you how to protect yoursel…
Lesson 49: Wrist Releases (7.1 Front Attack Defenses)
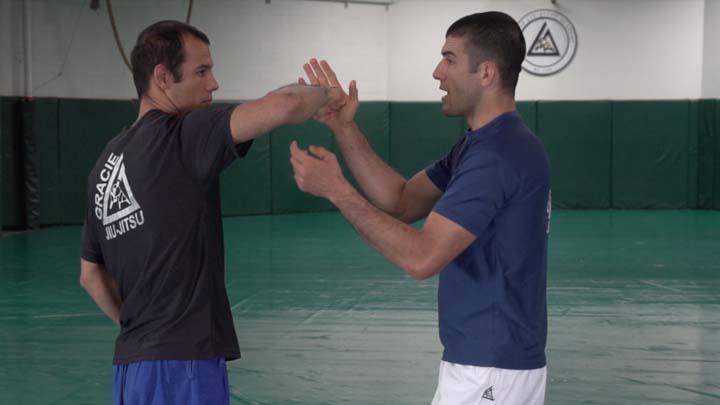
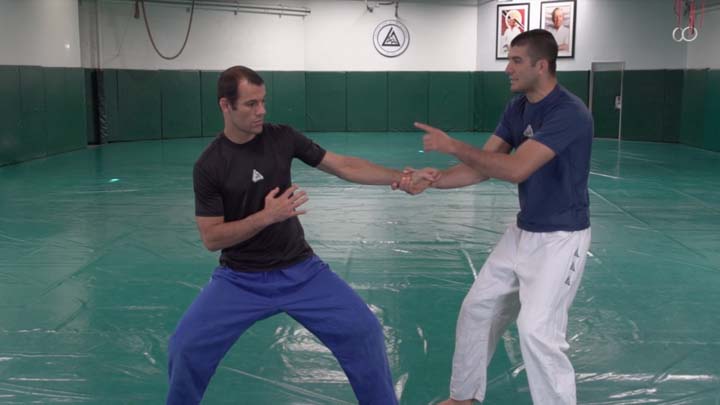
Whether someone attempts to pull you off the edge of a cliff by grabbing your wrist, or you are in the middle of a grappling match and your partner gains solid wrist control, you MUST know how to use leverage to quickly and easily neutralize any wrist-grab. In this lesson, we will teach you the essential wrist re…
Lesson 50: Handcuffing Techniques (7.1 Front Attack Defenses)
Many police officers struggle to handcuff aggressive suspects. In this lesson, we will teach you several arrest and control techniques from the Gracie Survival Tactics (GST) course for law enforcement professionals so that you can help a police officer arrest a violent person or control a suspect until authorities arri…
Lesson 51: Tactical Intervention (7.1 Front Attack Defenses)
People who know how to fight are the least likely to get into fights. However, they are also the most likely to intervene when they witness abuse or bullying regardless of whether or not they know the victim. In this lesson, we will teach you several ways to neutralize an aggressive person in a standing altercation or …
Lesson 52: Dynamic Knife Defense (7.3 Weapon Defenses)
If the aggressor has a knife, run away if possible. If you can’t run away, we have three Dynamic Knife Defenses for use when surprised by a knife when standing or on the ground. These are the most important knife defenses you’ll ever learn.
Lesson 53: Escort Gun Defense (7.3 Weapon Defenses)
You have already learned a rear stickup defense against an opponent with an extended arm. Now, we’ll address what to do if the opponent has the gun tucked to their body and is forcing you to move with them. As always, manage the distance, manage the damage!
Lesson 54: Dynamic Gun Defense (7.3 Weapon Defenses)
Now that you have learned the core gun defenses from virtually every standing position and angle, we want to discuss some critical connections when the opponent resists your initial control by pulling away or switching hands on the weapon. The Outside Trip will enable you to get your opponent to the ground, immobilize …
Lesson 55: Active Shooter Defense (7.3 Weapon Defenses)
Dealing with an active shooter is like dealing with a striking opponent, you want to be all the way out or all the way in. First, try to evade and escape. If you can’t escape and choose to close the distance, we’ll cover considerations for controlling an opponent with a handgun and a long gun or assault rif…
Lesson 56: Rear Takedowns (7.4: Clinch/Takedowns)
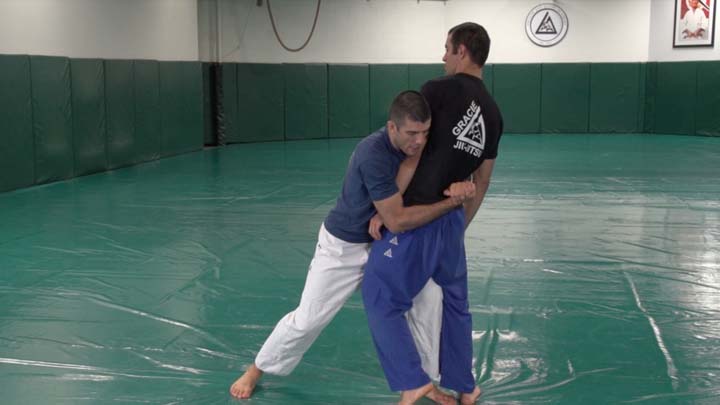
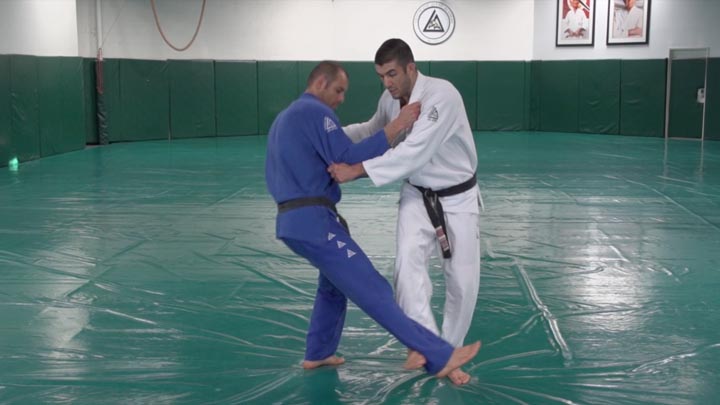
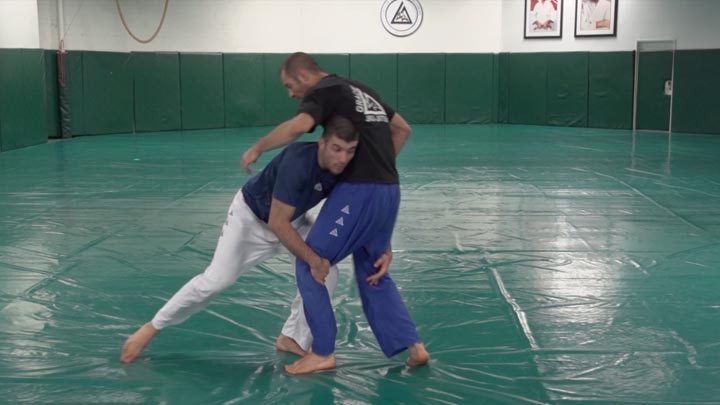
The classic rear takedown from the rear clinch will work perfectly against 99% of all opponents. For the 1% of skilled grapplers, you may need something more dynamic. In this lesson, we will teach you a sequence of techniques to off-balance your opponent from every angle, so that you can get the takedown regardless of …
Lesson 57: Front Headlock (7.4: Clinch/Takedowns)
Against much heavier opponents, the front headlock is a great option because it enables you to avoid shooting for a leg and risking getting caught under their sprawl. The key to success is to surprise your opponent by abruptly pulling them off balance using the “snap down.” From the front headlock, there ar…
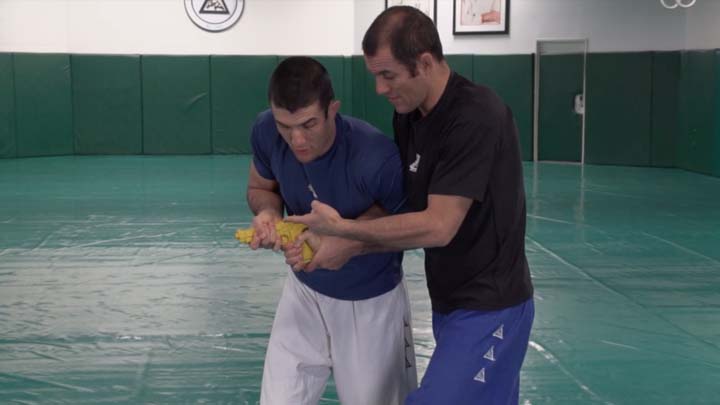
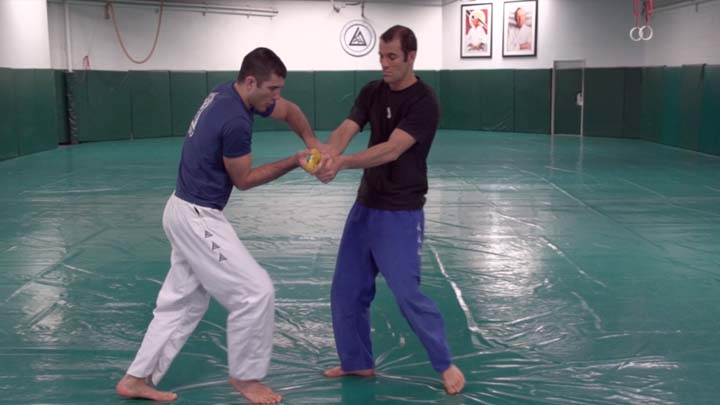
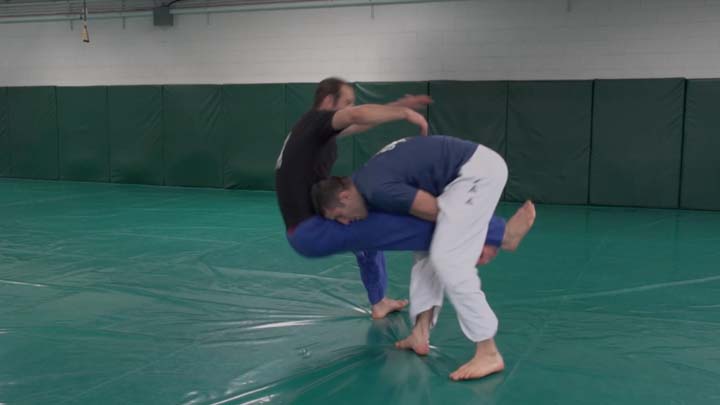
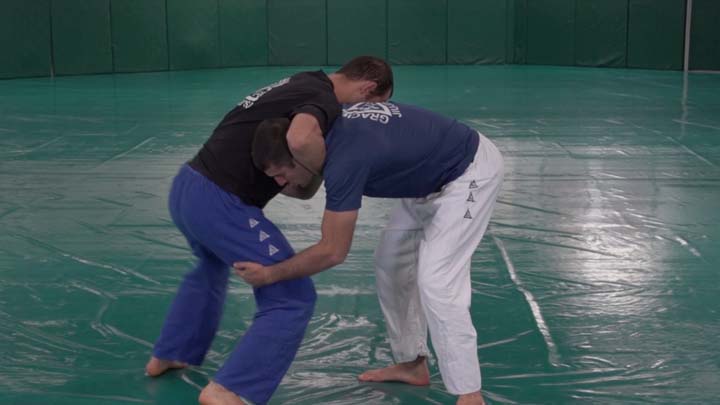
Lesson 58: Throwing Techniques (7.4: Clinch/Takedowns)
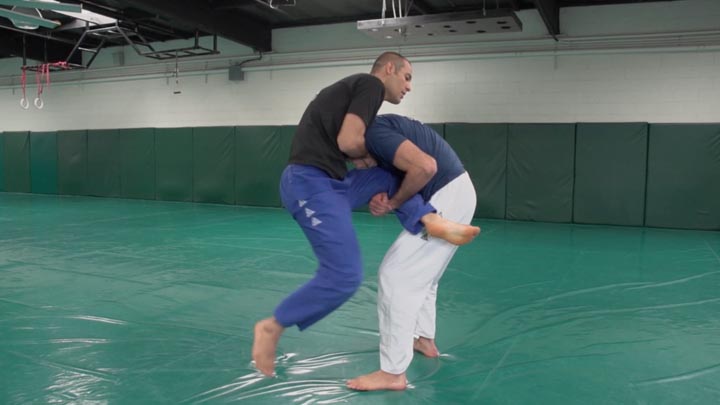
In this lesson, we add four more throwing techniques to your takedown arsenal. Take your time, learn them individually, and once you are confident in each throw, combine them with all previously learned techniques!
Lesson 59: Takedown Reversals (7.4: Clinch/Takedowns)
When defending against takedowns, you must know when to fight and when to yield. If you recognize the takedown early, you can sprawl or use underhooks to stuff it. If you’re late, however, there is still hope if you control your opponent’s momentum and use it to achieve the top position. In this lesson, we …
Lesson 60: Guillotine Mastery (7.4: Clinch/Takedowns)
The Guillotine is one of the most dynamic submissions in jiu-jitsu and is especially useful when your opponent exposes their neck during a takedown attempt. In the final lesson of the Blue Belt curriculum, we will teach you how to turn any double leg or single leg takedown into the perfect Guillotine Choke, or if it fa…
BBS4 Test – Introduction
Ryron and Rener introduce you to the BBS4 Test Drills.
BBS4 Test – Drill 1: Mount & Side Mount Techniques
In this drill, you will demonstrate Mount & Side Mount Techniques.
BBS4 Test – Drill 2: Guard & Half Guard Techniques
In this drill, you will demonstrate Guard & Half Guard Techniques.
BBS4 Test – Drill 3: Back Mount, Leg Locks & Standing Techniques
In this drill, you will demonstrate Back Mount, Leg Locks & Standing Techniques.
BBS4 Test – Drill 4: Gi Sparring
In this drill, you and your partner will wear gi uniforms. You will begin sparring from the bottom of the mount. Spar non-stop, with resistance, for five minutes. After each submission, regardless of who applies/receives it, restart from a different inferior position – mount bottom, side mount bottom, or defensiv…
BBS4 Test – Drill 5: No-gi Sparring
In this drill, you and your partner will spar without gis. You will begin mounted on top of your partner. Spar non-stop, with resistance, for five minutes. After each submission, regardless of who applies/receives it, restart from a different superior position – mount top, side mount top, or offensive back mount….
BBS4 Test – Drill 6: Street Sparring
In this drill, you and your partner will spar without gis, but will wear mouth guards. Unlike Fight Simulation Sparring, where only one person wears large gloves, in Street Sparring, both you and your partner will wear small sparring gloves. There is no “bad guy/good guy” role during this sparring session, you will sta…
Course Features
- Lectures 0
- Quizzes 0
- Duration 10 weeks
- Skill level All levels
- Language English
- Students 57
- Assessments Yes


